Making our house our home.

Wednesday, August 24, 2005

Basket O' Tools and Junk

Since the entryway project ended up taking about a week and a half, a lot of tools and other random items had to be in easy reach. When the mess got to the point that I was dreaming about finding sandpaper under my pillow, I implemented The Basket O'Tools and Junk. Everything that wasn't in active use got dumped in, and now that the project's done, it can be taken downstairs in one fell swoop.

Kind of like 30 Minute Meals' Rachael Ray's garbage bowl, but I hope Rachael Ray isn't fishing anything back out to use later.

Entryway (Version 1.5)

The original title of this post was going to be "Touch My Door and I'll Cut You," but I'm feeling a bit more charitable than that this evening. You are invited to stroke it and ooh and ahh respectfully.

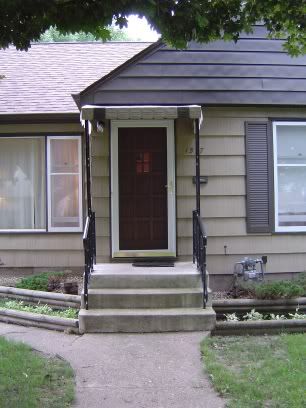
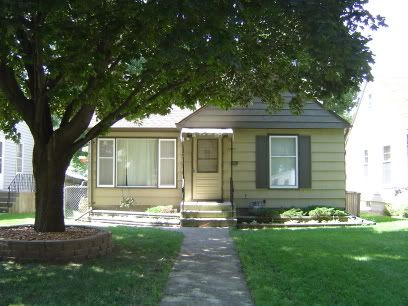
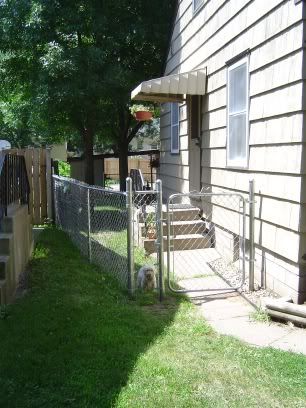
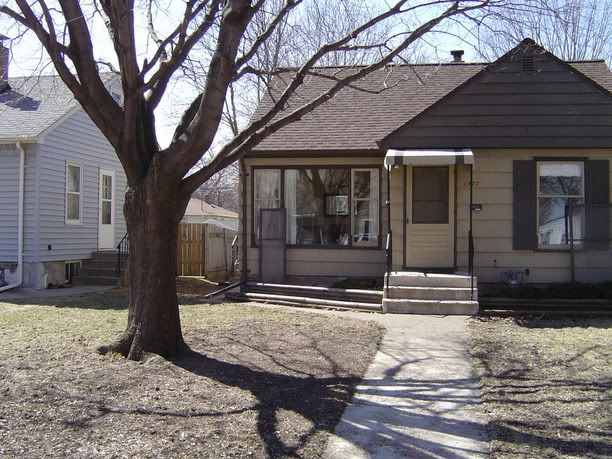
When the house came to us, the front entryway left something to be desired. I can only imagine that the storm door is original to the house, and the actual door was painted in the same pale baby poop brown as the rest of the house.


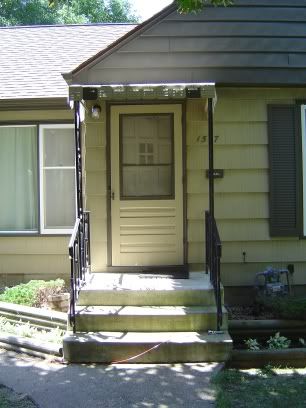
Our first step in making things a bit more inviting was to replace the storm door with a full view model. Several lessons learned from this process:
  • No matter how good the directions appear, it's best to read through them and figure out how the pieces work together before you make cuts and drill holes. That way, you don't begin to attach the "Z-bar" upside down. (Yeah, we'll let you know when we actually apply this lesson in a future project. Don't hold your breath.)
  • Our drill sucks. The $30 Black and Decker cordless model is great for apartment dwellers, but we need a bit more power. In order to get the closing mechanism attached, Craig had to sit and wait for the drill to charge enough to complete each individual pilot hole.
  • The friendly biker guy down the street is willing to lend a hand if we really get in over our heads. Good to know...


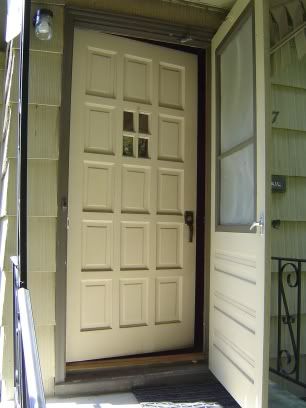
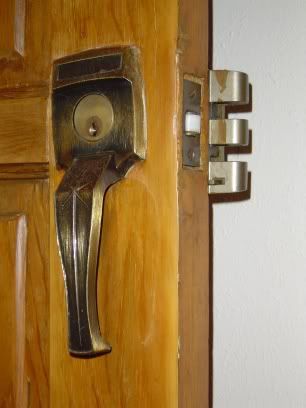
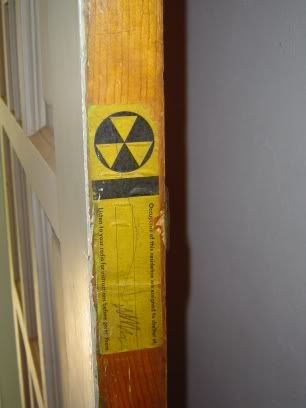
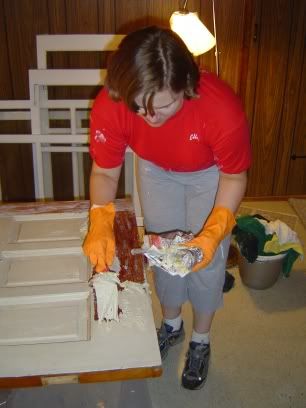
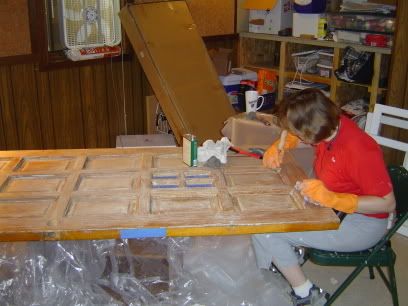
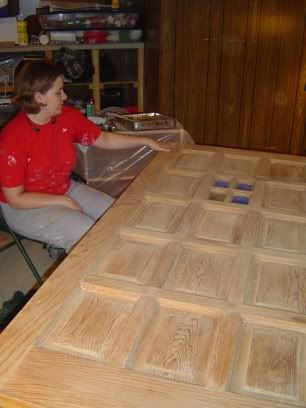
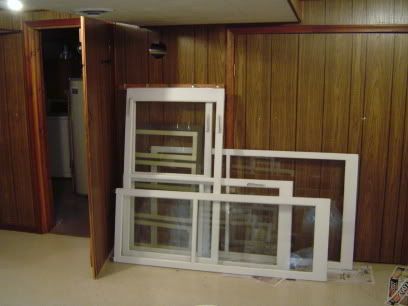
Next was stripping and refinishing the front door. We really liked the door itself, just not the flat icky paint on it. It's a nice solid door, and looks like it goes with the house (unlike a Suburban Special from Menards would). The handle is really cool, and there's a sticker on the side telling us where to go in case of nuclear attack - one of the few "pieces of history" we're likely to find here. Too bad we can't read it, and some child years ago decided to scribble in his own "No Nukes" protest.


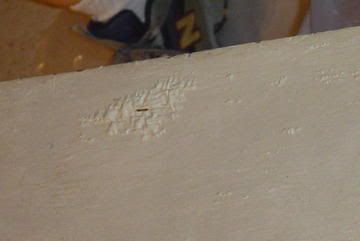
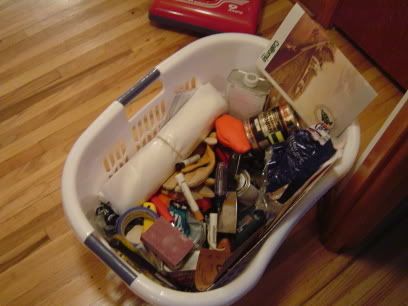
The stripping itself was a learning experience. After browsing through a few library books, I picked up a gallon of "Power Stripper" and was on my way. Most of the paint came off in two coats, but I did spend a fair amount of time scrubbing with steel wool and "Fromby's Paint and Poly Remover Wash," as well as scraping in the corners with my handy dandy teardrop-shaped moulding scraper. The previous owners had apparently stripped the door down before they primed and painted in brown, but I found some bits of Pepto Bismol / My Little Pony pink in some of the corners. Scary. A few flecks of paint and other imperfections remained, but I was satisfied.


The finish on the interior side of the door came off quite easily.


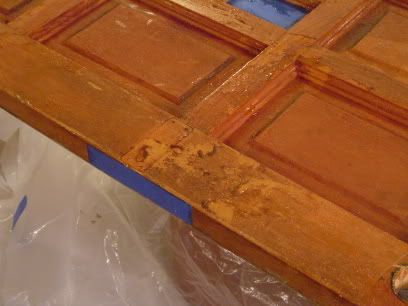
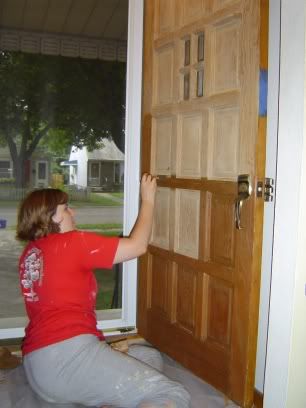
We then rehung the door, since the basement wasn't a very good place to keep it while we were away at work. That's when the trouble began. The bare wood was lighter than we wanted it, so I decided to rub some stain in before the final finish.

This was a Very. Bad. Idea.

The weathered wood on the exterior side of the door sucked up that stain like a sponge. I hadn't applied any sort of sealer, and consequently I was left with a dark, muddy mess.


After some tears and gnashing of teeth, I got out our little handheld power sander, and got off the muddy top layer of stained wood. What was beneath was pretty good. I had to sand the crevices and paneling by hand the next night.


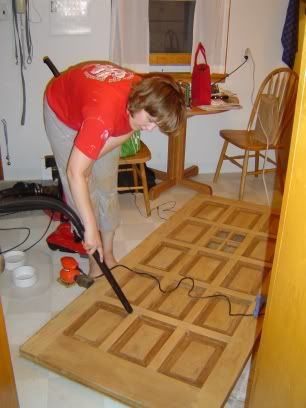
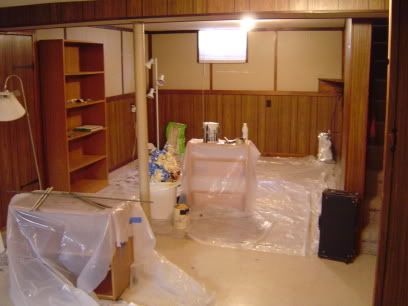
As a side note, it's best not to use your working kitchen as an area to sand down wood, no matter how much hassle it would be to move the door to the basement or garage. Even if you vaccuum as well as possible, you really do get a fine layer of wood dust over everything, the dog tracks it into the rest of the house, and you have wood dust all over your black pants when you try to make coffee the next morning. Anyway.

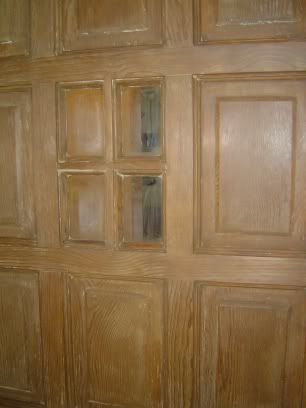
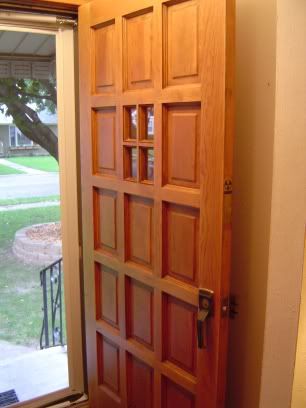
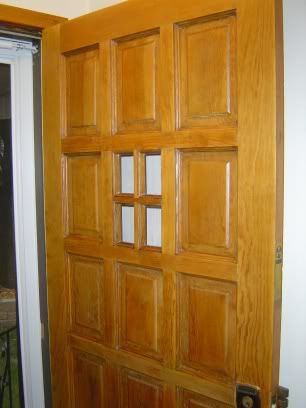
We then re-re-hung the door for its three coats of satin spar varnish. I applied a sealer coat first (just in case - I think I'm sold on sealer for everything now), then put on a coat of varnish per day. The exterior side of the door looks like what it is - a fifty year old door that's seen some use, and the interior looks pretty dang good.


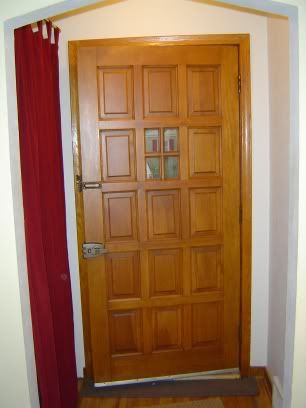
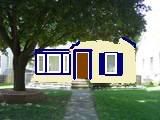
At some point - hopefully this fall, we plan to take down the awning in front and replace the existing railing. We'll also change out the light fixture, select a new mailbox, and get new house numbers. For now, though, the door changes bring us to Entryway Version 1.5.


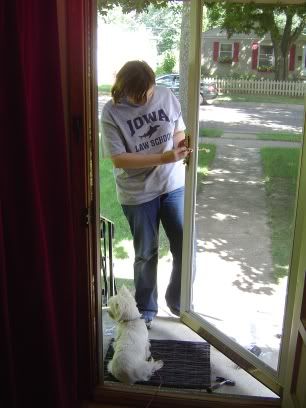
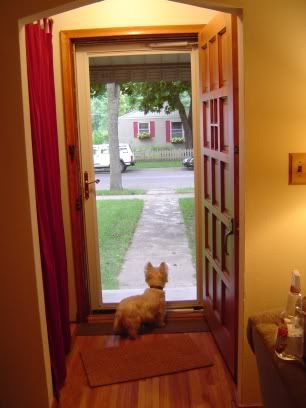
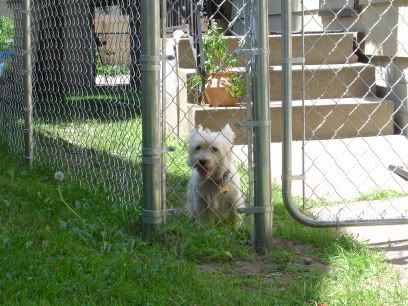
And Phoebe likes it.

Monday, August 15, 2005

Gratuitous Phoebe cuteness

I just had to share this shot of Phoebe, which Sarah Hansegard took at the Westie picnic on the Fourth of July.

Tuesday, August 09, 2005

The Great De-Browning, Stage 1

By all accounts, the previous owner of our house seems to be a nice enough guy. But he seems to have cared for the color brown just a bit more than we do. In this case, "just a bit" is a nice term that means "a whole hell of a lot." We already painted over the living room, and we've embarked on a plan to paint the exterior and get rid of the two shades of brown there.

Over the course of three weekends, we completed the first stage - painting the screen frames, storm windows, and window sashes white. They were a flat dark brown. Luckily, we were able to take all the screens and storm windows down to the basement and paint in a nice cool environment, with baseball and HGTV on in the background.

It turned our basement into a war zone, but that's okay.


So, all of the window frames are painted now. You can see an old picture for comparison here.


Our overall plan calls for three stages:
  • Window frames, etc. painted white. - Done!
  • Rest of the trim painted blue. - Hopefully to be completed the rest of this summer and fall, getting rid of all of the dark brown by winter.
  • Paint the body of the house light yellow. - Next summer, before we start having 97 degree days again...

Here is a (decidedly not an) artist's rendering of what we're going for. That brown blob in the middle is a beautifully refinished and stained front door. It's cleverly disguised, I know.


We're working with California Paints, which received top marks from Consumer Reports. So far, we're very happy with the quality and the way the window frames look. For the rest of the trim, we plan to use Beethoven Blue. The body of the house will be something similar to Fresh Lemon.

After a while, you run out of excuses.

Sometime around the middle of July, we ran out of excuses for not starting on the yard projects we'd been planning. After one massive trip to Home Depot (the Internet is not big enough for a tally of everything we bought), we were ready to finish off the backyard fence and build a tree ring planter around the red maple in the front yard.

After we decided to actually do these projects and had a ton of landscape stone in the carport, we were resolute. Unfortunately, the next weekend to come up was 97 degrees and insanely humid. And it was the release date for Harry Potter and the Half Blood Prince. But we're tough, right?

Now, the instructions for building a tree ring planter are very simple. You just need a level base that allows the bottom ring of landscaping stones to be buried about halfway. In real life, though, trees have roots, and roots are not level.

An impromptu call to Matt, Ellen's brother and forestry major, confirmed that sawing through the roots to make a level surface probably wasn't the best for the health of the tree. (See, Mom & Dad, our them there college edumacashuns is good for sumfin!)

We settled for making the base as level as possible and doing the best we could.


It took us a few weeks to bring home enough topsoil to fill up the planter (36 forty pound bags, for the record). We plan on planting impatiens or some other shade flower next summer, but for now we just topped it off with cedar chips.

The finished product isn't too shabby, even if it is more of a tree curvilinear planter than a tree ring planter. Because of the roots, it's not perfect, but it will hopefully allow the tree to survive.


While Ellen was hauling landscape stone and swearing at tree roots (which are not generally very responsive), Craig was in the hot sun finishing off the chain link fence for the backyard. As Ellen is writing this, there may be a lack of witty commentary about the process. My apologies.

Anyway, we have half-baked ideas about adding a deck that would encompass the side entry in a few years, so we elected not to mix and pour concrete for the fence posts. This doesn't make for the sturdiest fence in the world, but it keeps 13-pound Phoebe in nicely.


This way, she can run around the backyard without being on a leash or a long lead. Here, she's discovered some sort of mouse hole in the corner of our garage. She barked at this spot for quite a while, and was so intriuged that she even ignored Craig and the lawnmower passing five feet behind her.


It is a very basic fence, but it does the job. It also provide a nice solution to the problem of who mows what in the space between the two houses.

Even slower.....

While uploading some photos, I discovered that we had some quite nice ones that I forgot entirely about. These are mainly from the 4th of July weekend.

Phoebe likes picnics....


and Carl likes fireworks.


Carl & Tenley waiting for fireworks.


I forgot to mention in my last post that I mowed the lawn for the first time ever when Craig was on crutches. I'm not sure why I never did it growing up, but I was really enjoying having that be one of the things I had no experience with. There goes that excuse.